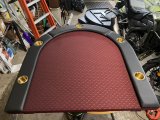
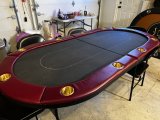
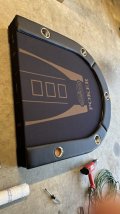
So I finished my Barrington mods (for now) but still need to order a topper.
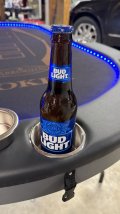
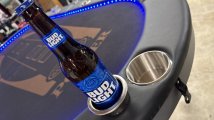
New LEDs, Dimmer, AA Battery Pack, and Jumbo Cupholders
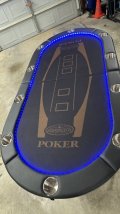
COB LEDs
I wasn't the biggest fan of the blue LEDs and didn't like how they were so spaced out. I saw someone talk about the COB LEDs and how they are amost diffused already and ordered the warm white and couldn't be happier. The LEDs are very close together so you don't need to put something in front of them to diffuse them like I was trying to do with the old LEDs. Instead of ripping out the old LEDs, I actually just wedged the new LEDs right on top of the current ones. It worked out great.
I did have to cut the light strip and attach another tail end. Very easy to do but measure accurately before you cut! You don't have much leeway with the 16.4ft strip. And then used the Y connector that also came with the COB connector package.
Screwed and glued on some velcro, glued velcro to the battery pack, then buttoned up everything else. Happy with it.
COB LED Lights
COB Connector Package
Dimmer
Battery Pack
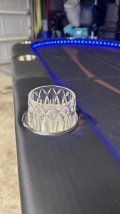
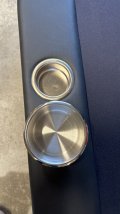
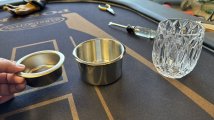
Jumbo Cupholders
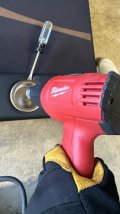
I went with the jumbos after reading recommendations. Pried off the old ones with a vise grip, drilled a center hole down with a standard bit, then drilled from the bottom up with the 3 5/8in hole saw starting it the pre drilled hole. I got them all done but it was a bit of a struggle with the hole saw I bought. If I would do it again, I would get one that was deeper. This one barely made it through both pieces of wood.
Jumbo Cupholders
Hole Saw (buy a deeper one)
View attachment 1252914
 , it allows you to own 5 different "felts" and match them to your different sets.